Hey there!
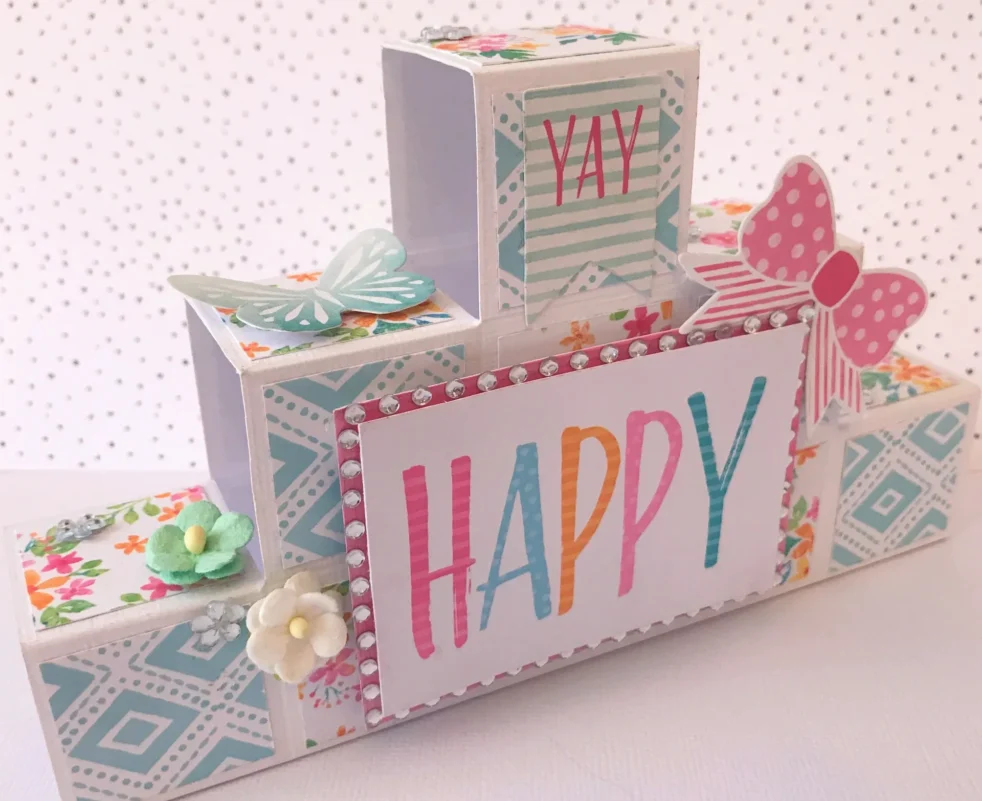
Do you remember a while back we created the Block Step Card?! ..This time, let’s go one better!
The double block step card looks doubly amazing, yet is just as easy as the single step to make! You can whip up the base in just a few minutes! (..then of course how long you spend decorating it is entirely up to you!)
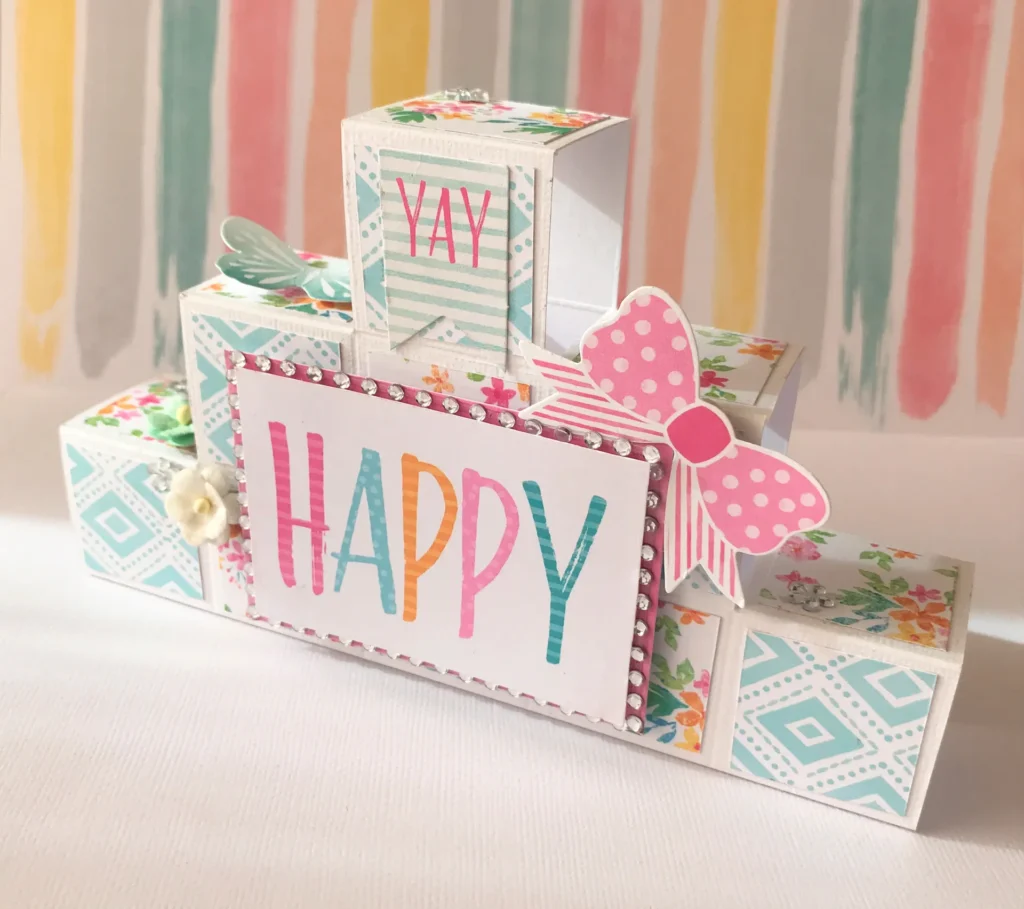
I made the card shown using ‘Ice’ cardstock from Kaisercraft, decorated with ‘Make A Wish’ papers and embellishments from Cocoa Vanilla Studio.
Isn’t it cute!?!.. Let me show you how to make one too!!
Ready?.. Let’s get into it..
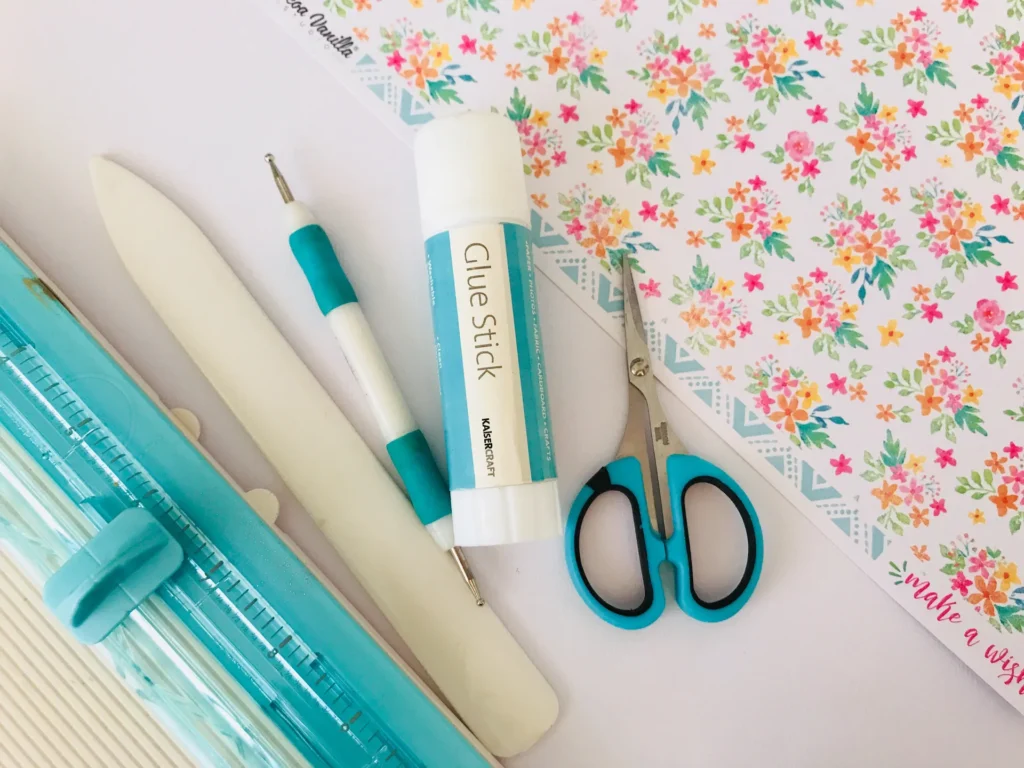
To make this card, you’ll need the following:
- 1 x sheet 30 x 30 cardstock (220gsm or similar)
- 1 x glue
- 1 x scissors and/or cutter
- 1 x scoring board (or a good ruler!)
- 1 x bone folder (useful, but not essential)
- Decorative papers and embellishments of your choosing!
- A large wine based beverage (not essential or related to making this card, just to enjoy!)
Step 1:
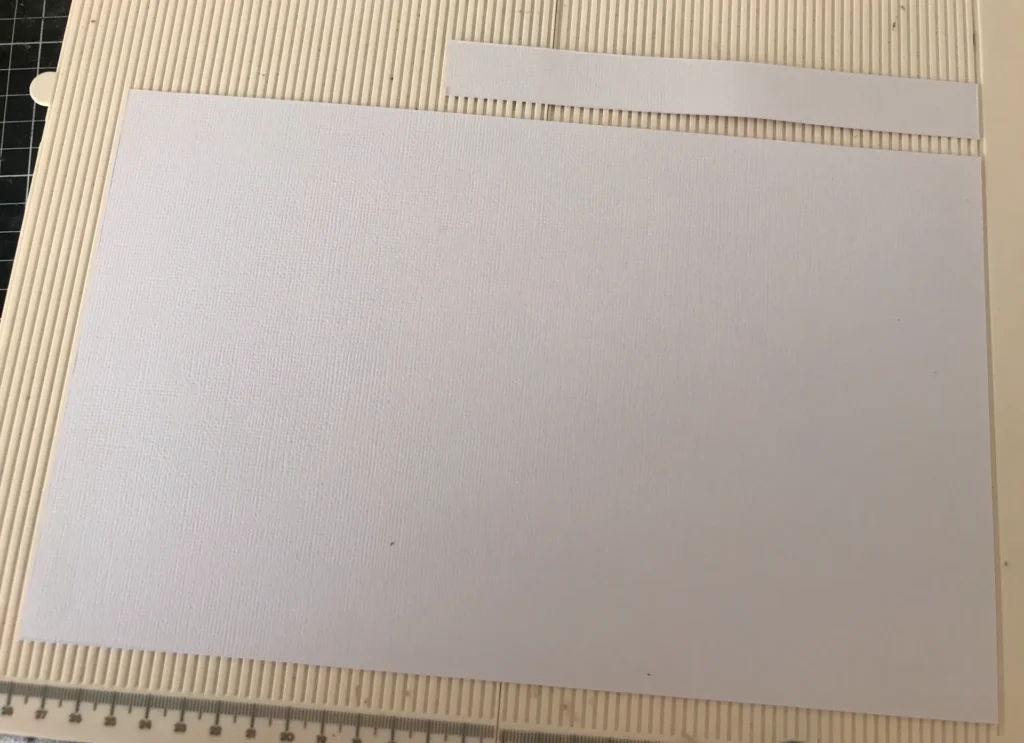
- Cut your cardstock to 17.5 x 28cm
- Also cut a second small piece approx 3cm x 17.5cm (set this aside for now)
Step 2:
Now we are going to score!!
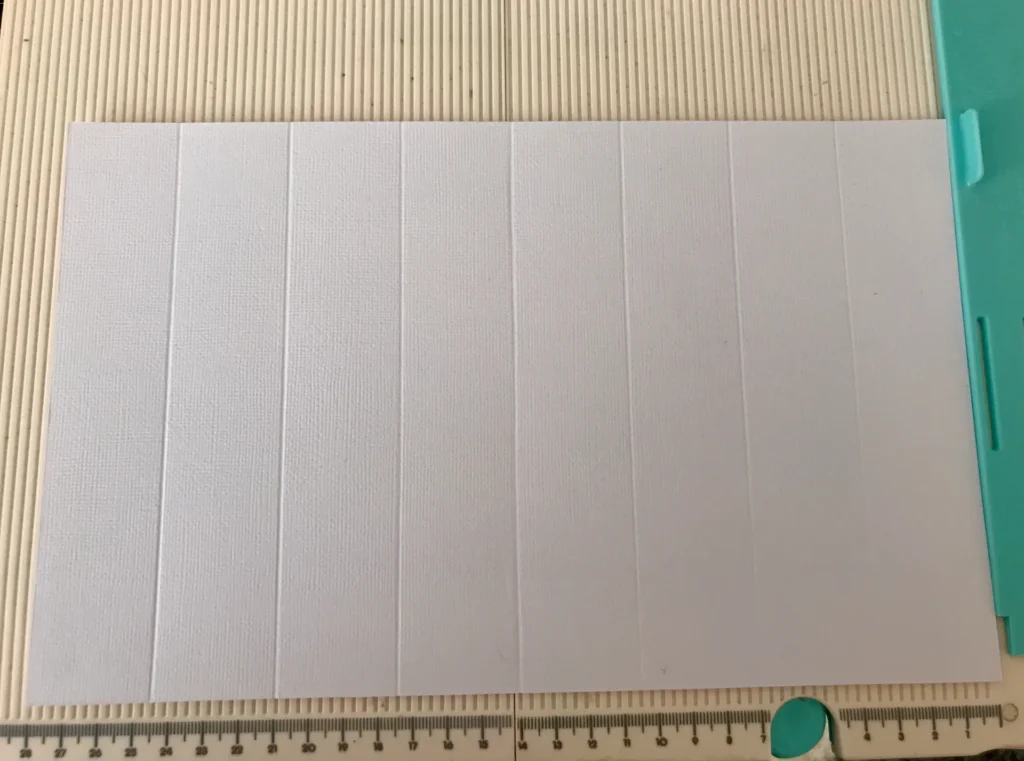
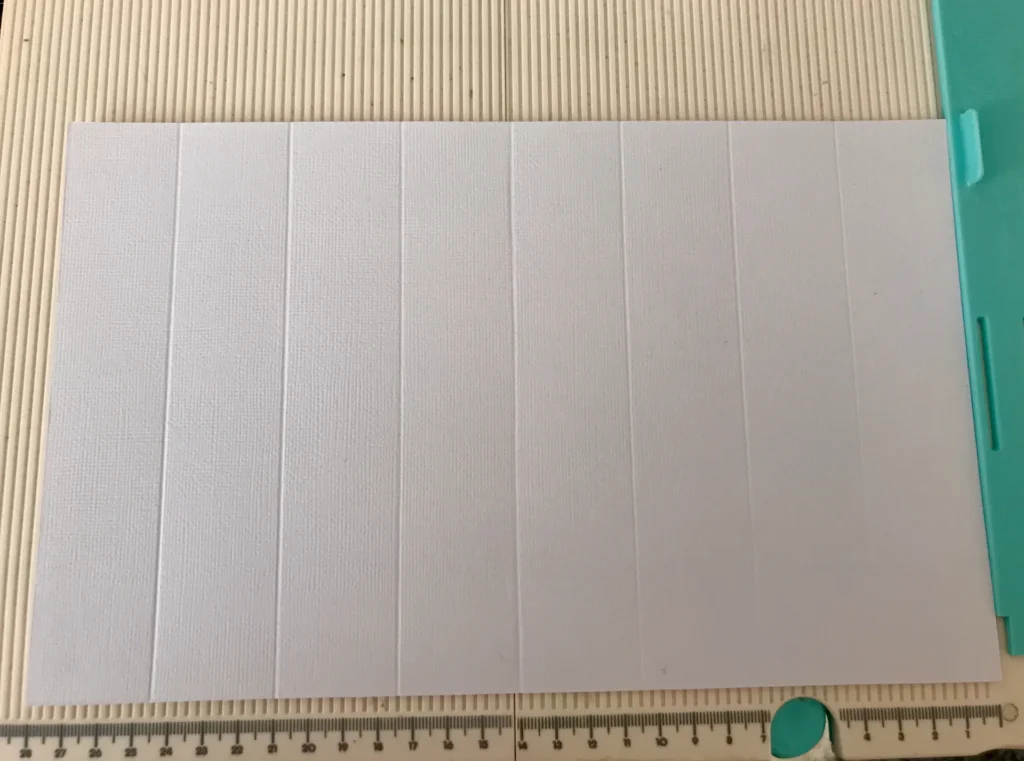
- The aim here is to create even 3.5cm squares over the whole piece, it’s easy..
- On the 28cm side, score vertically at 3.5cm, 7cm, 10.5cm, 14cm, 17.5cm, 21cm & 24.5cm
- Rotate your page and on the 17.5cm side score at 3.5cm, 7cm, 10.5cm & 14cm
- If you now have 40 even squares, congratulations you’re on track..
(psst.. if you don’t, just blame the wine and try again…it happens to the best of us!)
Step 3:
With your page in the landscape position, get your scissors!
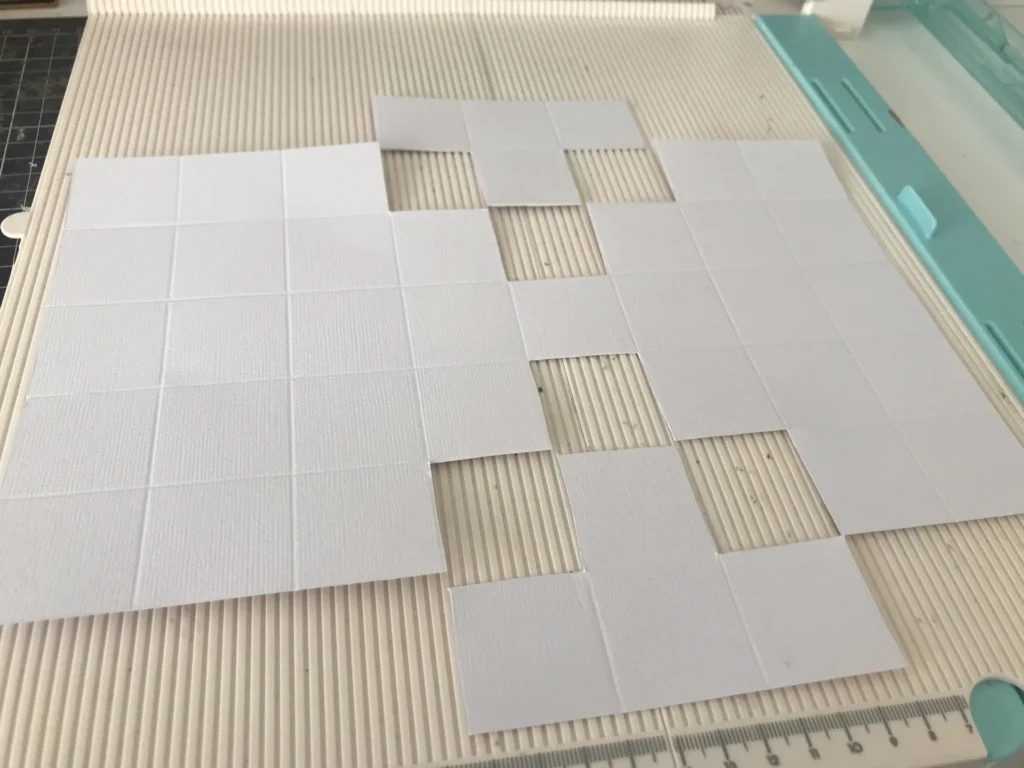
- Lets number the columns of the page as 1 (left) through to 8 (right)
- On the bottom row, cut away boxes 4, 5 & 6
- On the row above, also cut away only box 5
- Mirror the same cut aways on other side of page
- You can discard these cut aways
Step 4:
I know you’re thirsty by now, but don’t put down those scissors just yet!
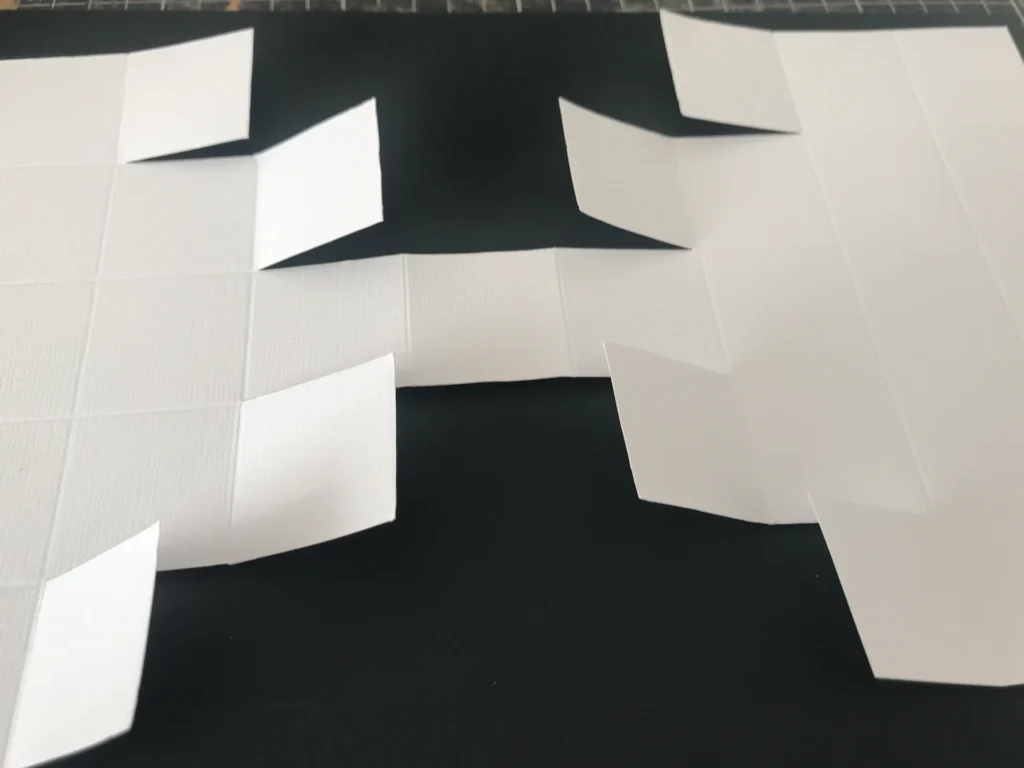
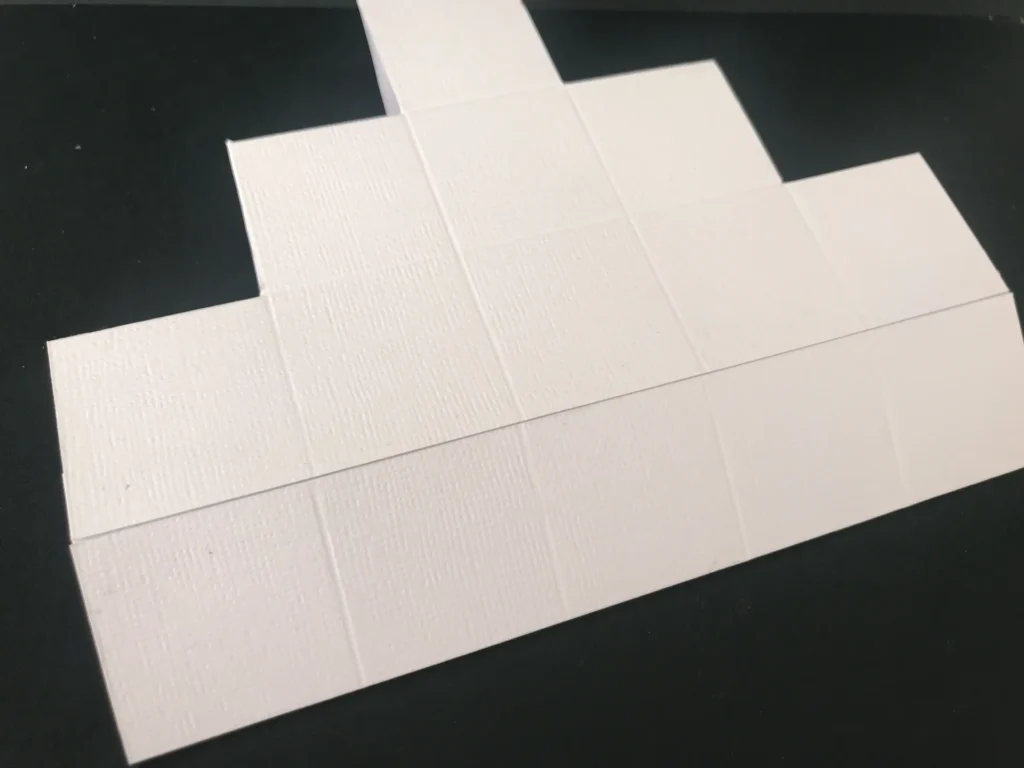
- Using scissors or cutter, cut along the horizontal score lines of the now exposed inner boxes until reaching first vertical score
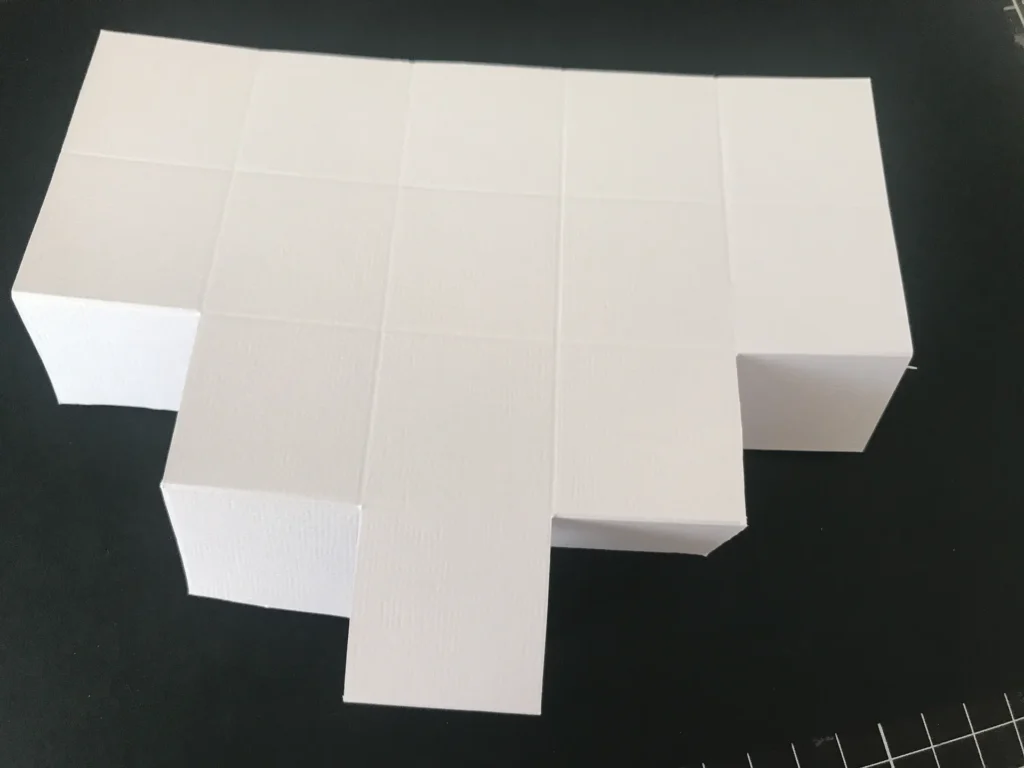
- You should now have 8 flaps as shown in the image below
Step 5:
Now we fold!
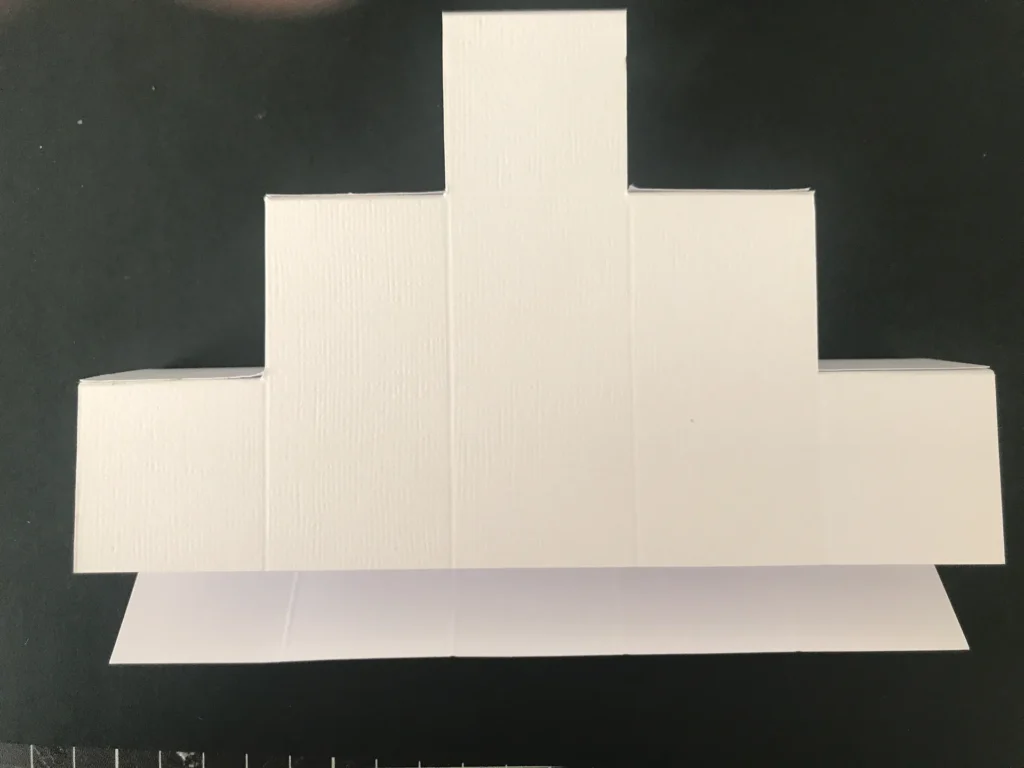
- Fold ‘mountain’ along the scores either side of the center square – This square is now the top of your card!
- You should now be able to see how the rest of the card naturally comes together, fold it into place
- The opposing ‘flaps’ created in the previous step, overlap each other and form the tops of the middle and bottom ‘steps’
- Glue the flaps of column 4 on top those of column 6
- Glue the flaps of column 3 on top of those of column 7
- Fold column 1 under to become the bottom of the card
(Tip: If you followed the above steps correctly, all of your ‘joins’ (exposed edges) will be on the same side of the card, leaving a neat ‘fold only’ front)
Step 6:
Remember the 3 x 17.5cm piece of cardstock you cut earlier? We’re going to use it now
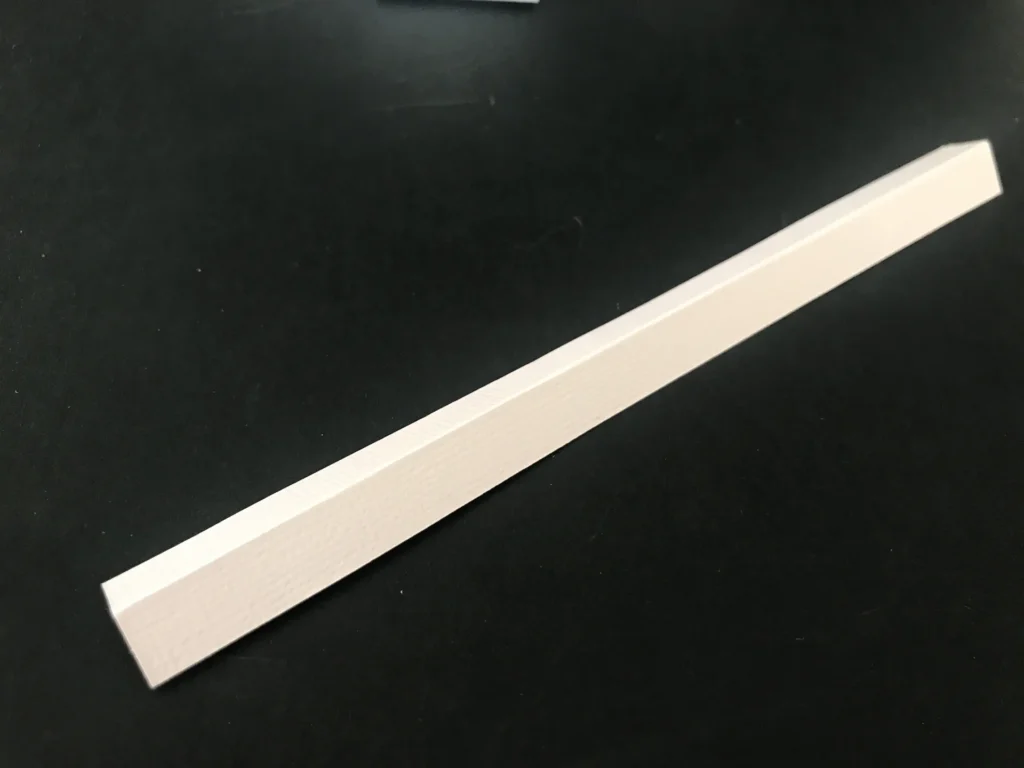
- Score the piece in half (1.5cm) all the way along and fold mountain
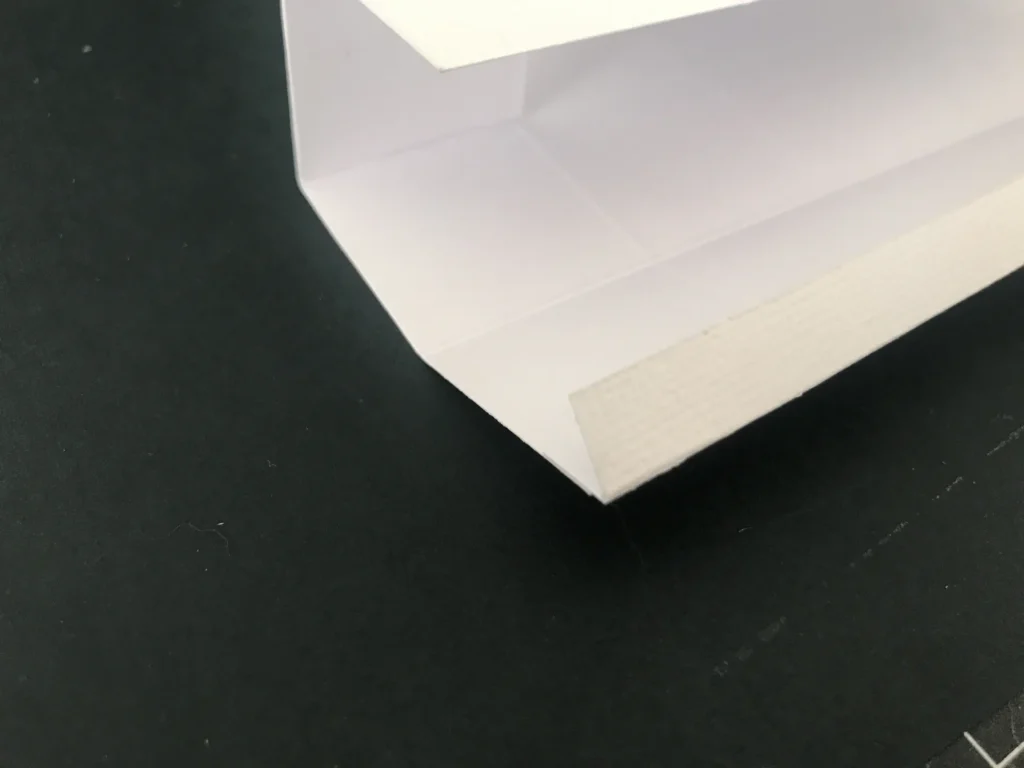
- Cover entire mountain folded side with glue
- Use piece to tightly join the side and base of your card together!
(Tip: Push card down flat as gluing together to ensure the base and side meet neatly at the join)
TA-DA!!
Well done lovely lady, you did it!!
Your ‘card’ is now made!! All it needs is your decorating!!
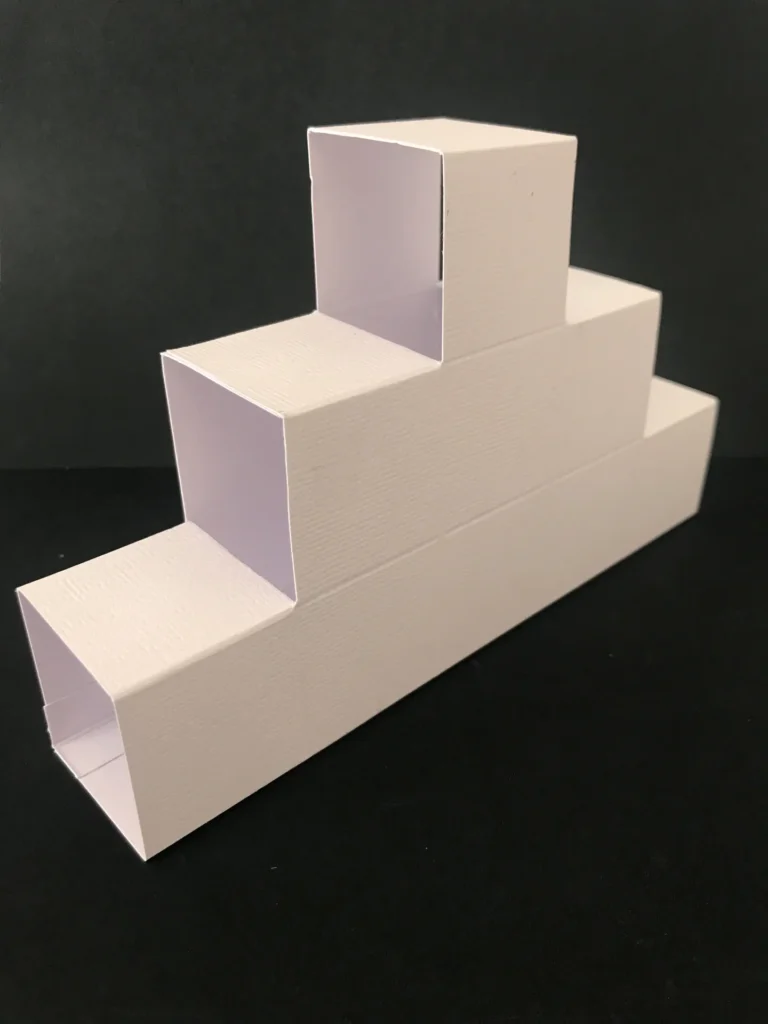
Although you can take full creative control here, I think these cards look cutest if you cover each ‘square’ in decorative paper, leaving a small border around each.
Since each ‘square’ measures 3.5cm, cut 23 3x3cm squares of decorative paper for your sides and tops, with one 17 x 3cm piece to cover the base
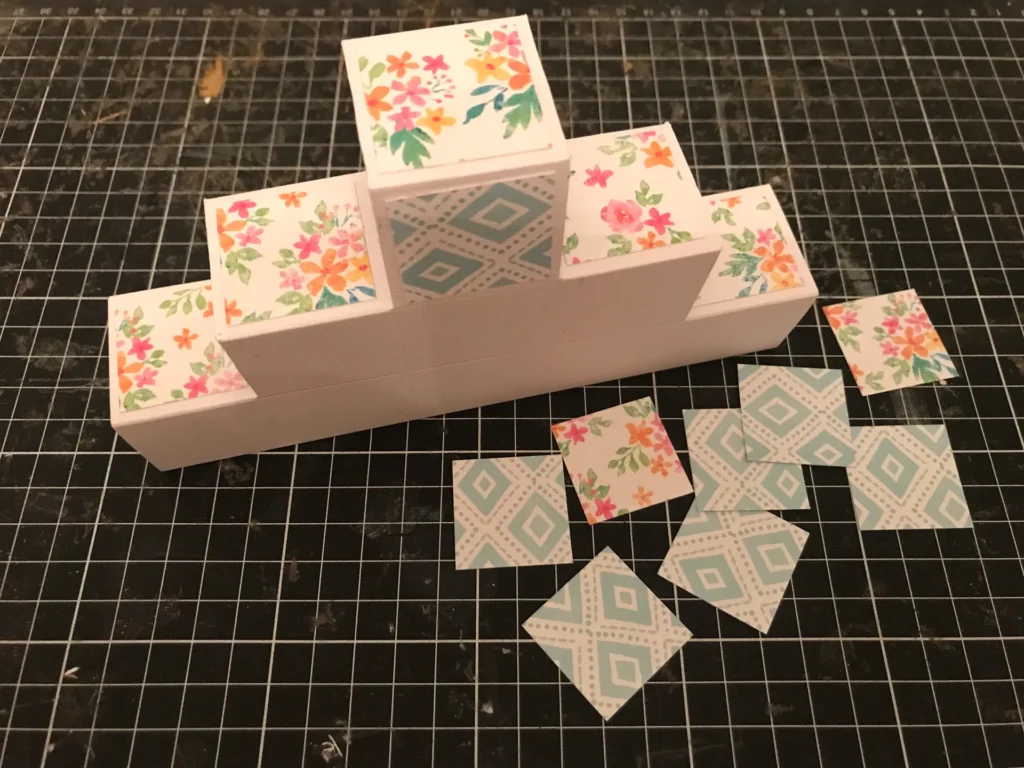
Then embellish your card however you like!!
As mentioned above, I used papers and collectibles from the Cocoa Vanilla ‘Make A Wish’ collection, but you can use any!
To fold card flat, simply push on one side of the base! It will then fit comfortably in a C5 size envelope.
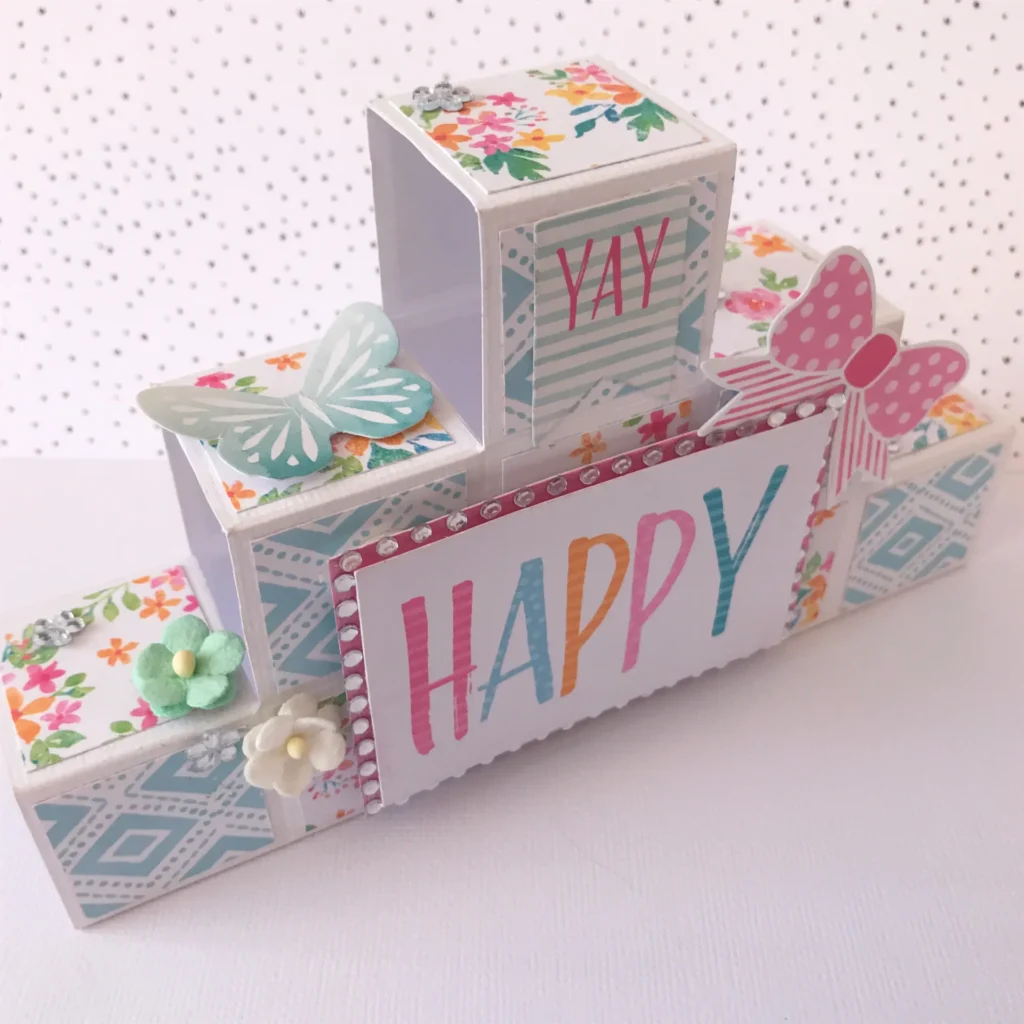
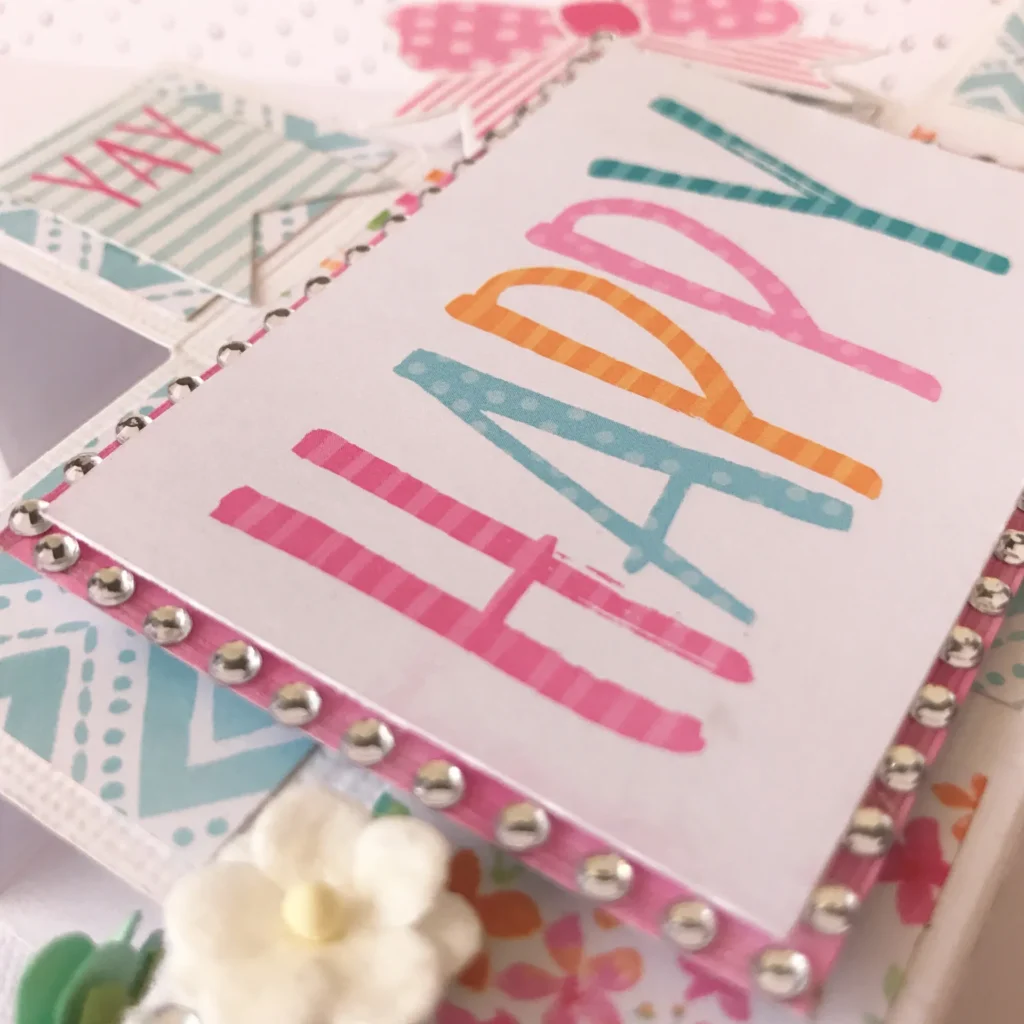
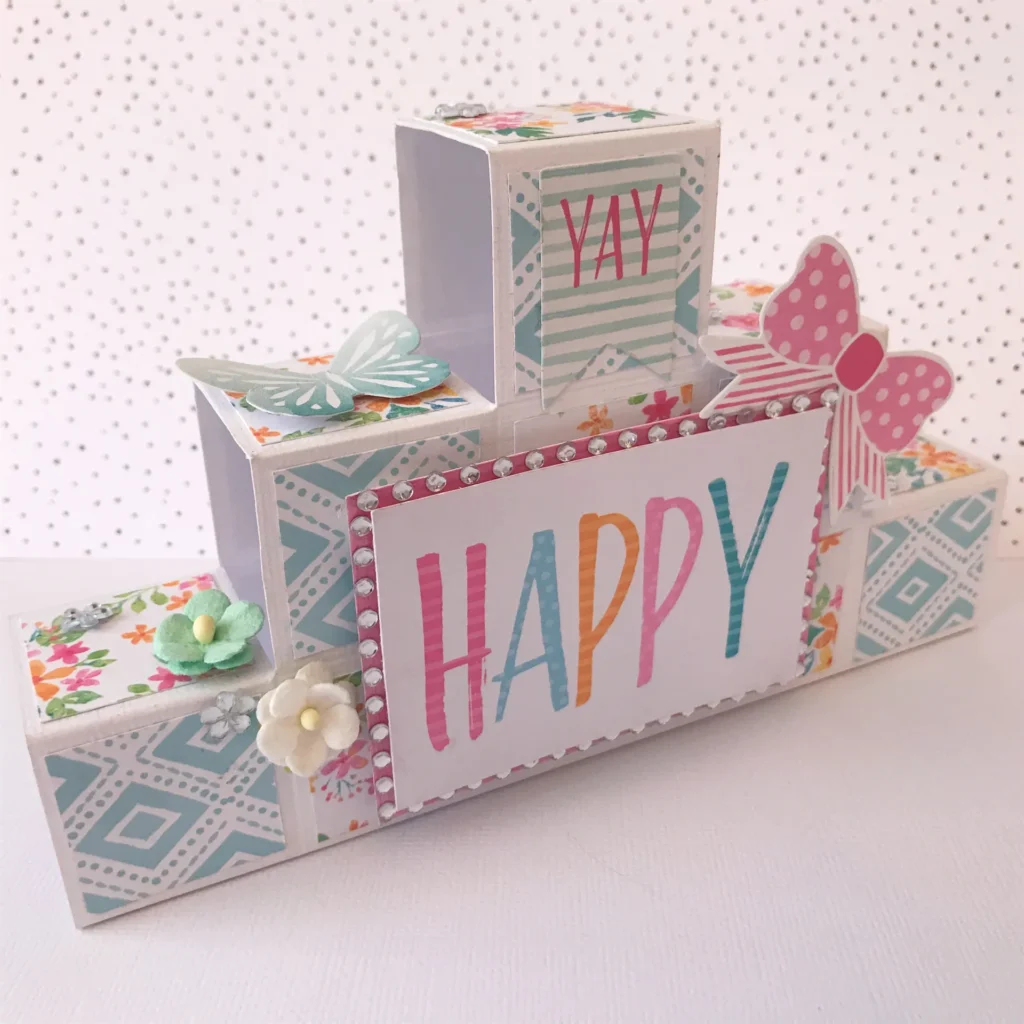
So there you go,the awesome double block step card!
Now take a sip, sit back and admire your beautiful card!!
