So you want to learn how to make a stair card, hey?!
Well don’t worry, you’re in the right place and I promise it’s no where near as tricky as you may think.
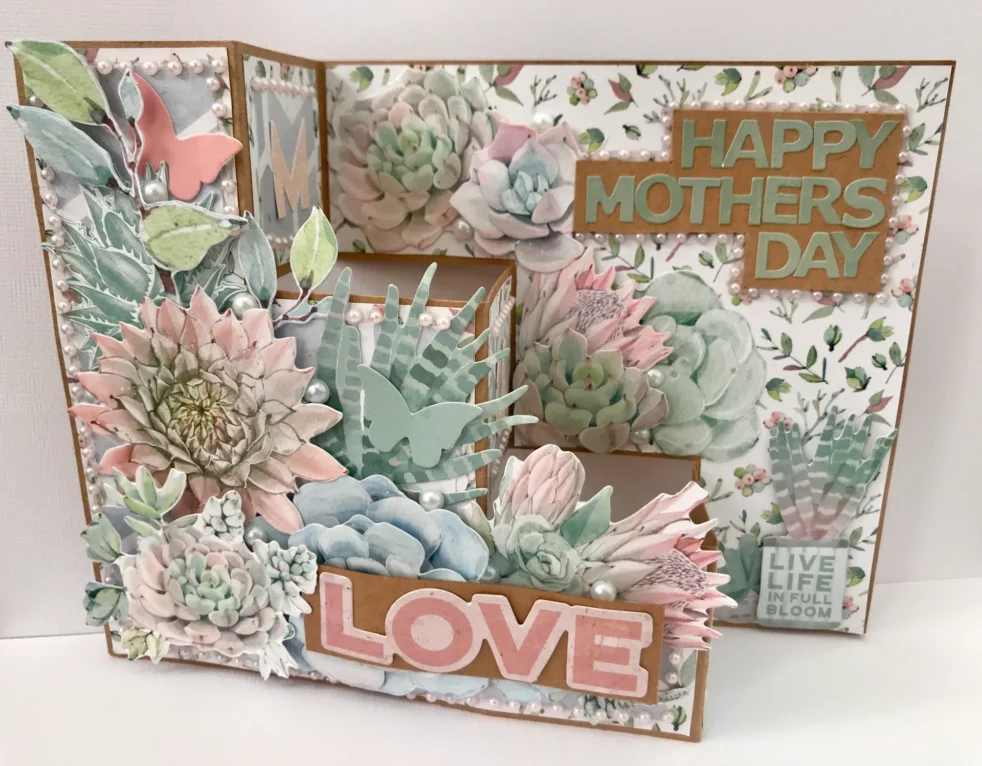
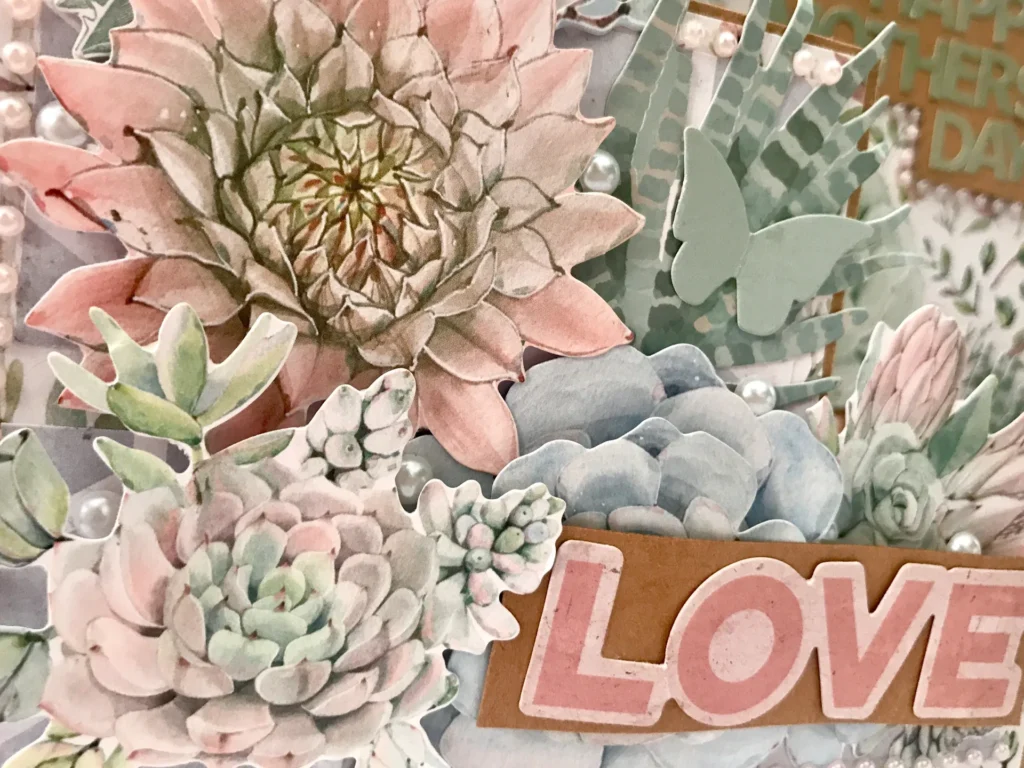
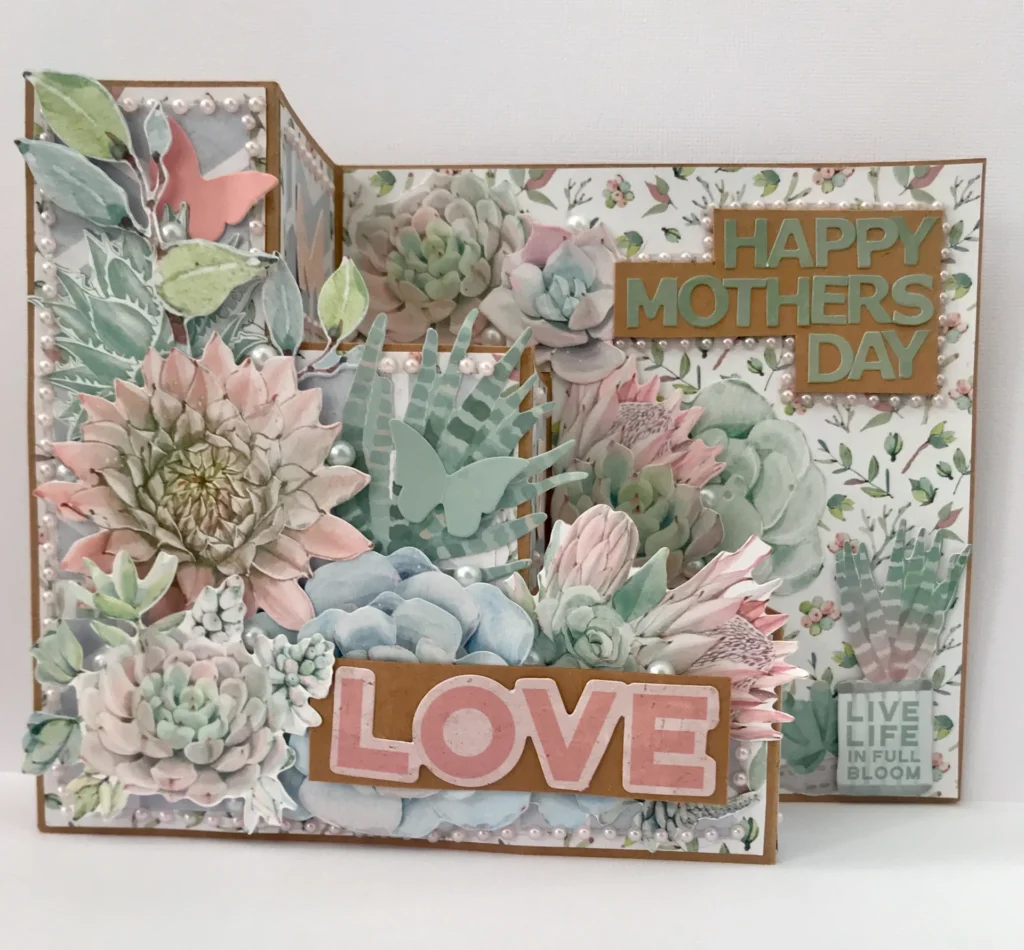
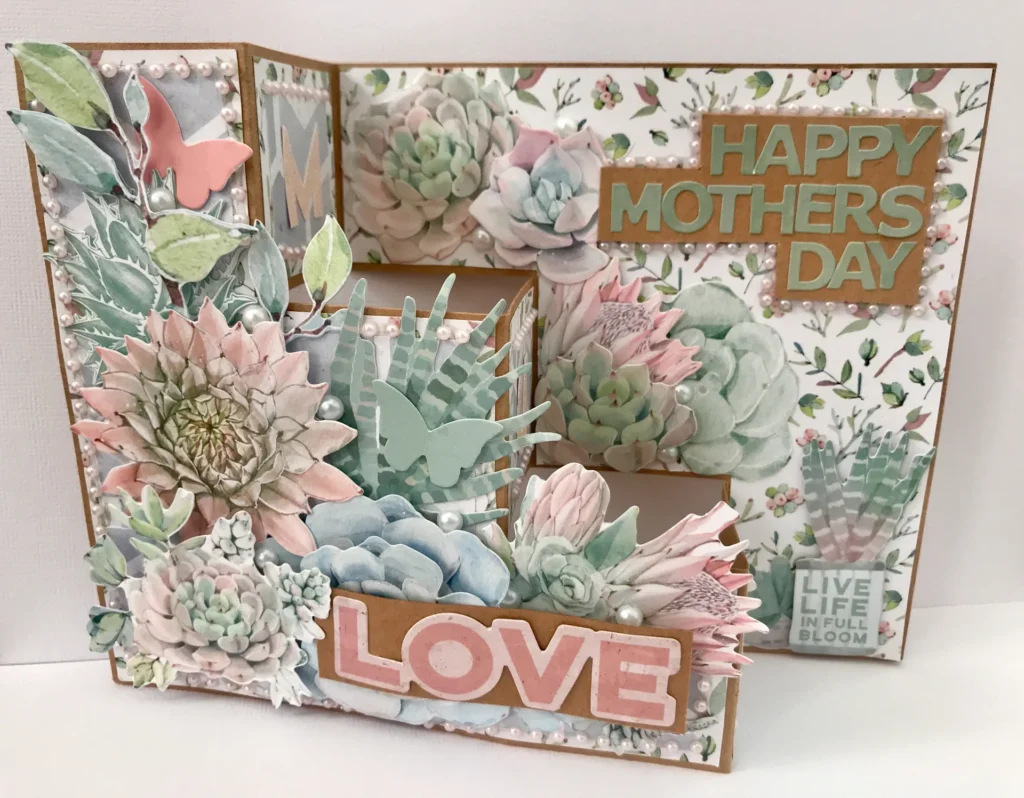
I recently used this style of card to make the Mothers Day card pictured, decorated with papers and collectibles from the Kaisercraft ‘Greenhouse’ collection. (What a stunning collection Greenhouse is! If you haven’t already, get your hands on it! It’s even more beautiful in real life)
Now lets get into it!
For this project you will need:
- 1 x Sheet of A4 or 30x30cm Cardstock (if using 30×30 you can actually get 2 cards out of one piece!)
- 1 x Ruler
- 1 x Cutting Mat (with measurements)
- 1 x Scorer Tool
- 1 x Cutting Knife
- 1 x Paper cutter (optional – you could just use your knife or scissors to cut cardstock to size)
- Glue, decorative papers and embellishments of your choosing!
Step 1:
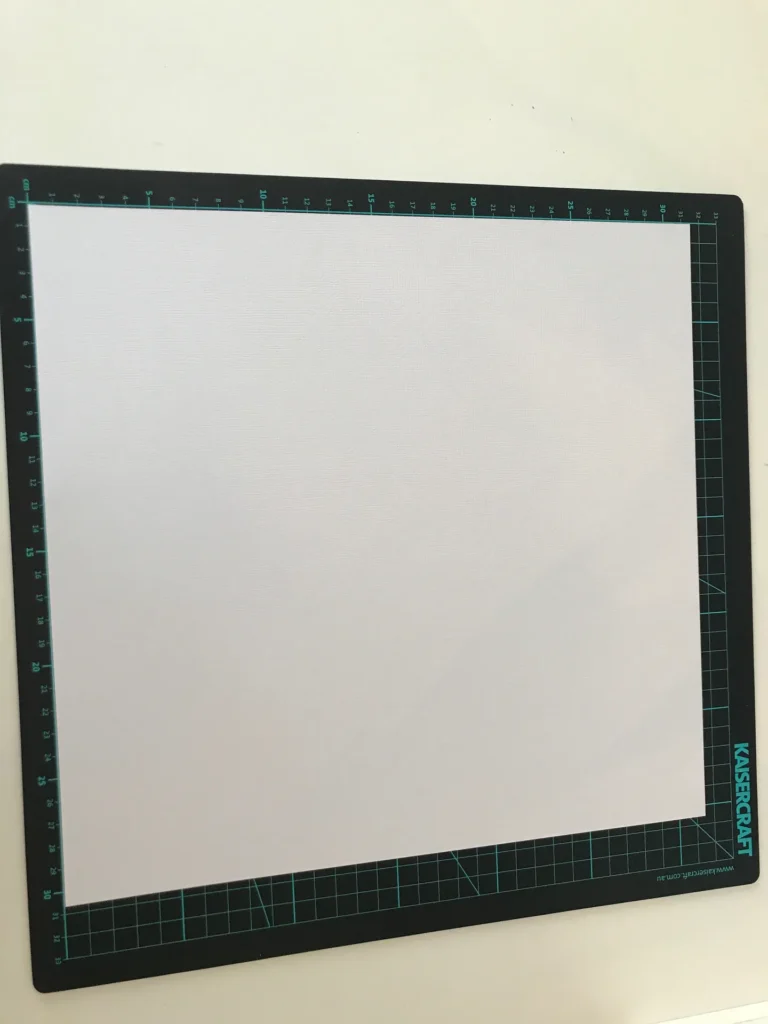
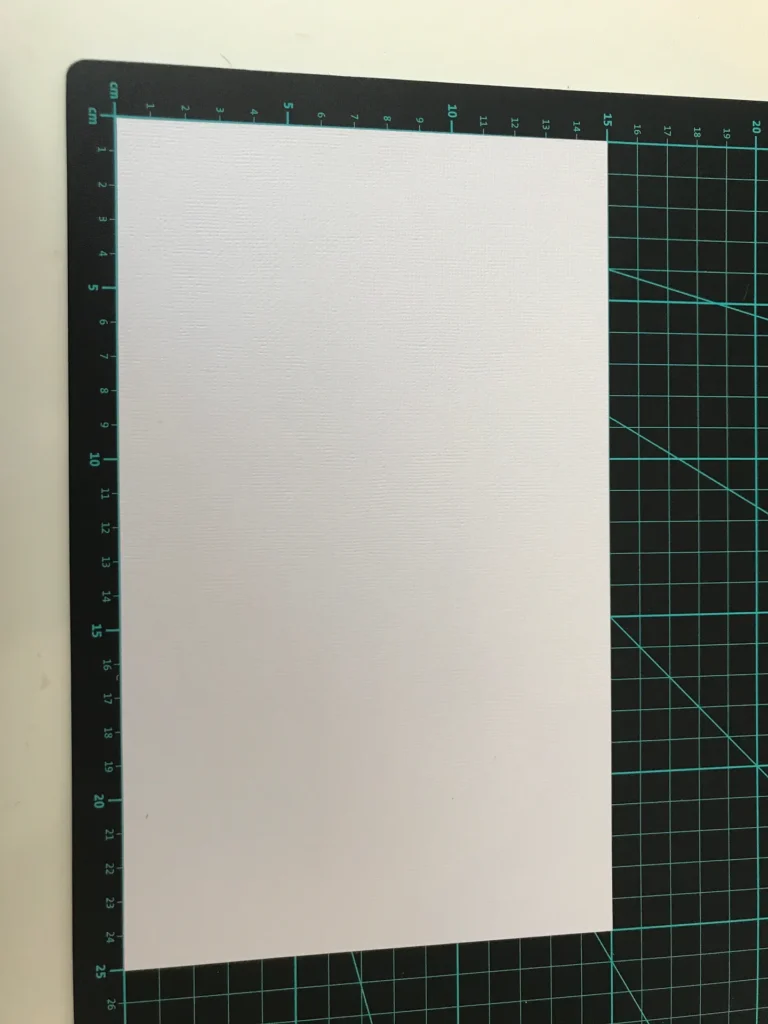
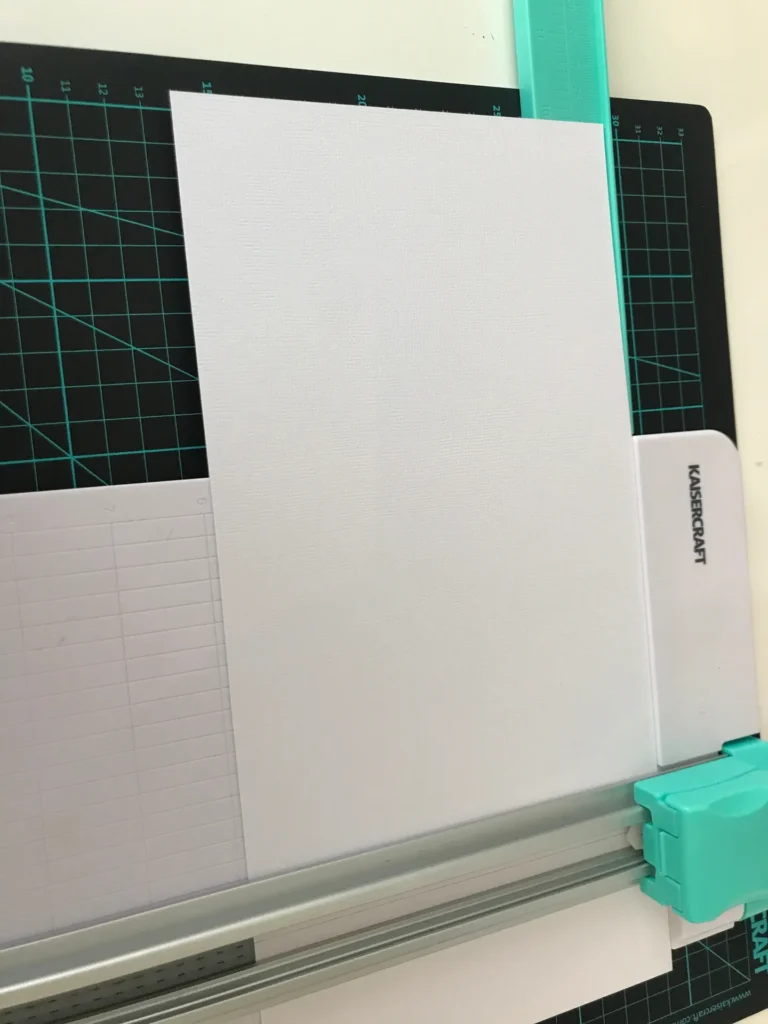
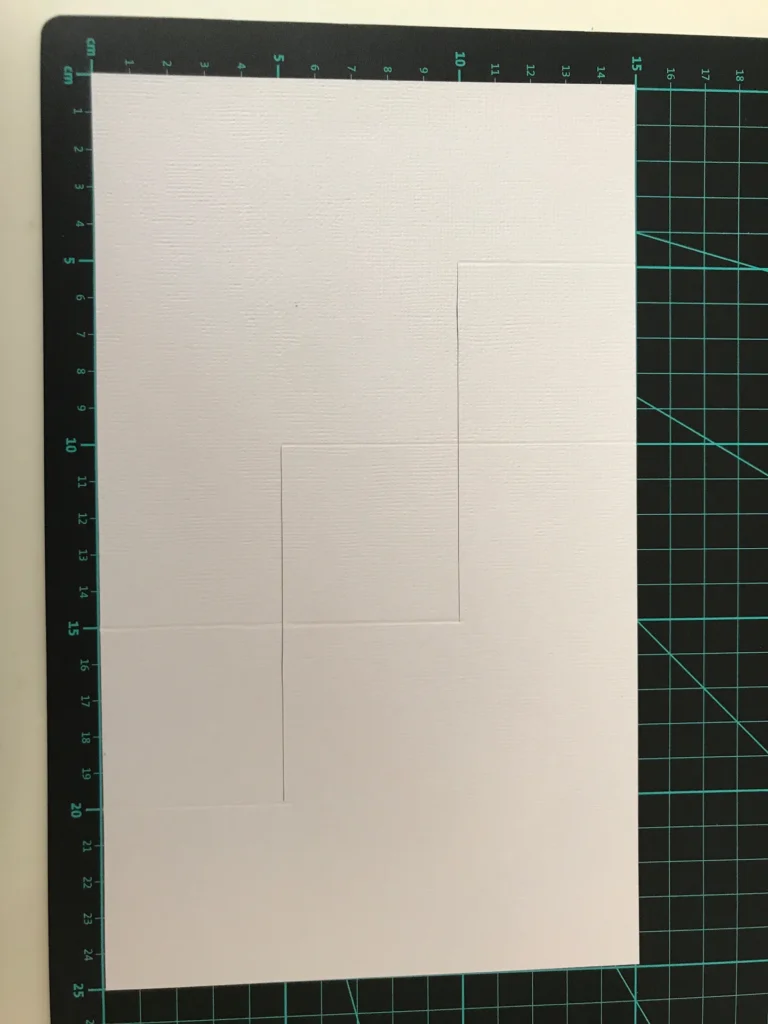
- Cut your cardstock to 25cm x 15cm
- Lay your cardstock horizontally on your cutting mat (with the bottom left corner at 0)
Step 2:
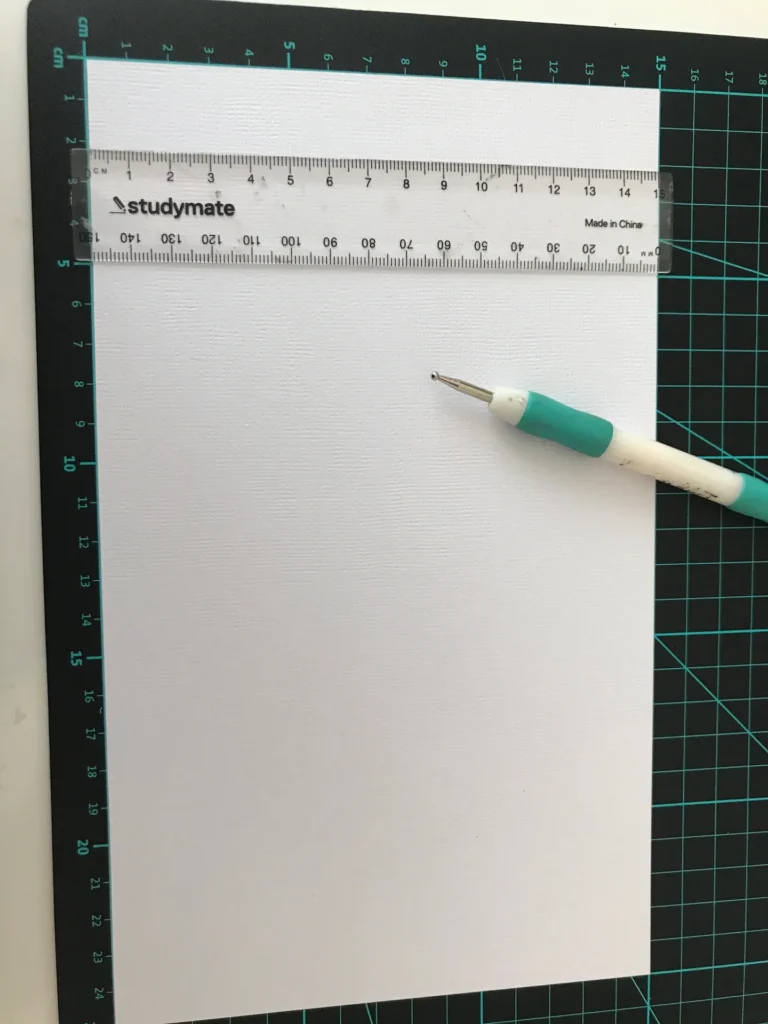
Grab your scoring tool and ruler
- At the top of your 15cm page, line your ruler up with the 5cm vertical line
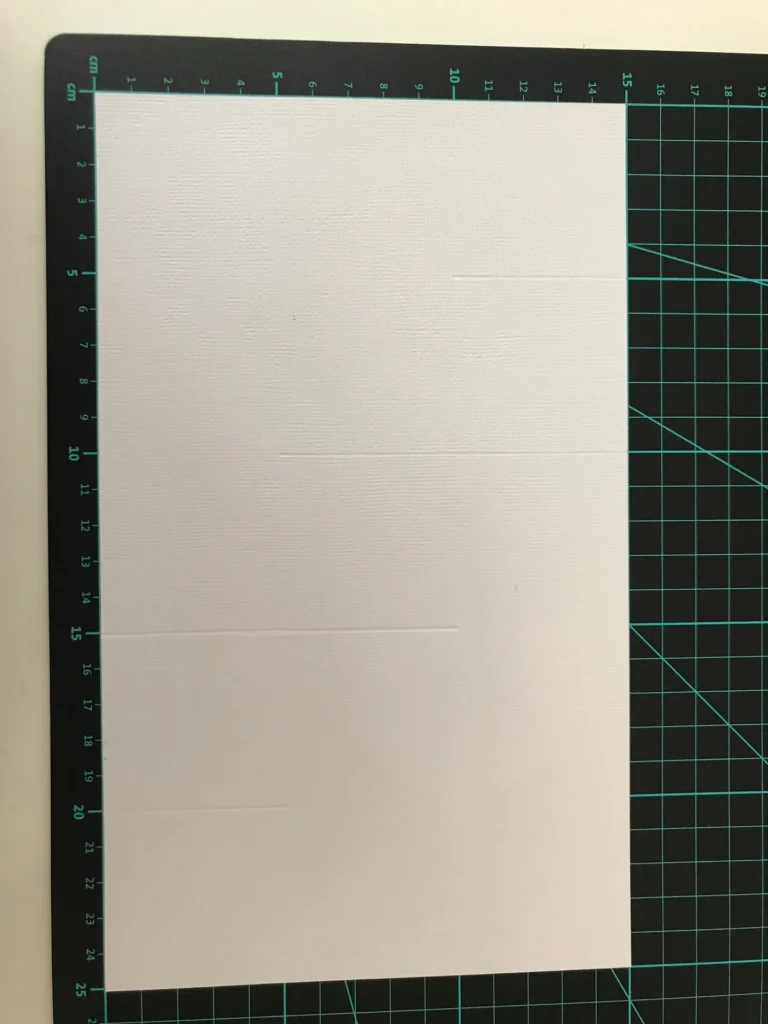
- Score down 5cm from the top of the page
- Move your ruler across to the 10cm vertical line, score 10cm down the page
- Now at the bottom of the page, line your ruler up with the 20cm vertical line
- Score up 5cm from the bottom of the page
- Move your ruler across to the 15cm vertical line, score 10cm up the page
(Tip: You could use a scoring board, but I prefer to do it on the mat as you’ll need it for step 3 anyway)

Step 3:
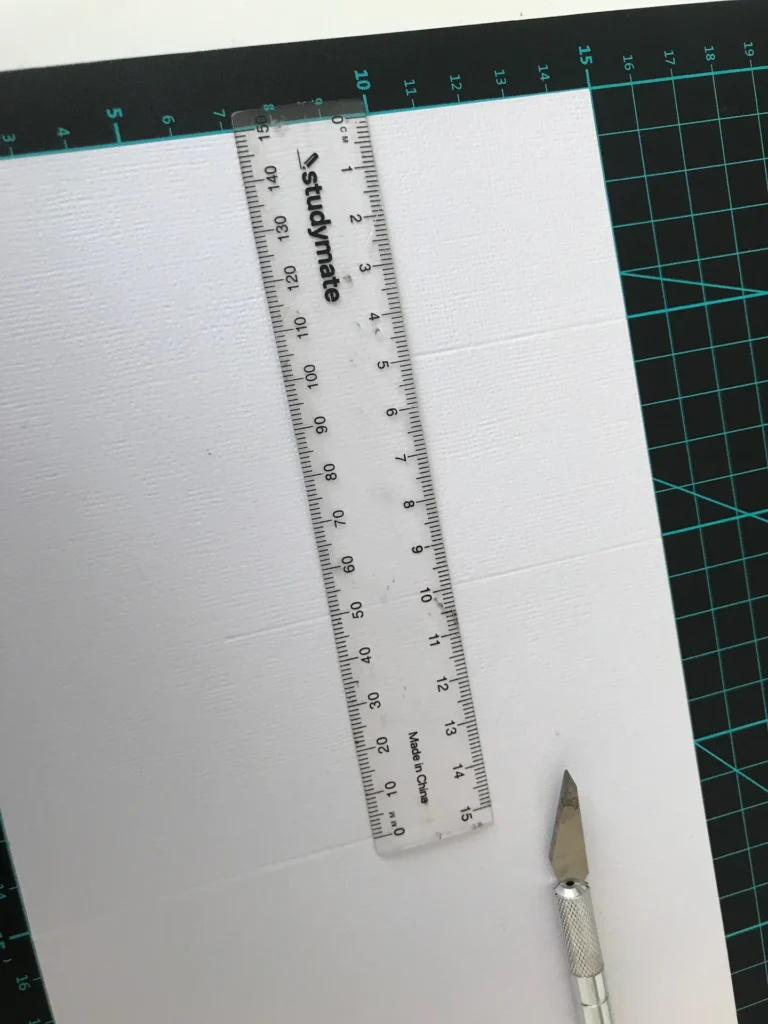
Grab your cutting knife and ruler
- Line your ruler up with your cutting mats 10cm horizontal line
- Cut along your ruler from the bottom of the 5cm score at 5cm, to the top of the 10cm score at 15cm
- Move your ruler down to your curtting mats 5cm horizontal line
- Cut along your ruler from the bottom of the 10cm score line at 10cm, across to the top of the 5cm score line at 20cm
(this bit sounds complicated when you read it, but just look at the images below you’ll see it’s easy! – Click to enlarge if needed)

Step 4:
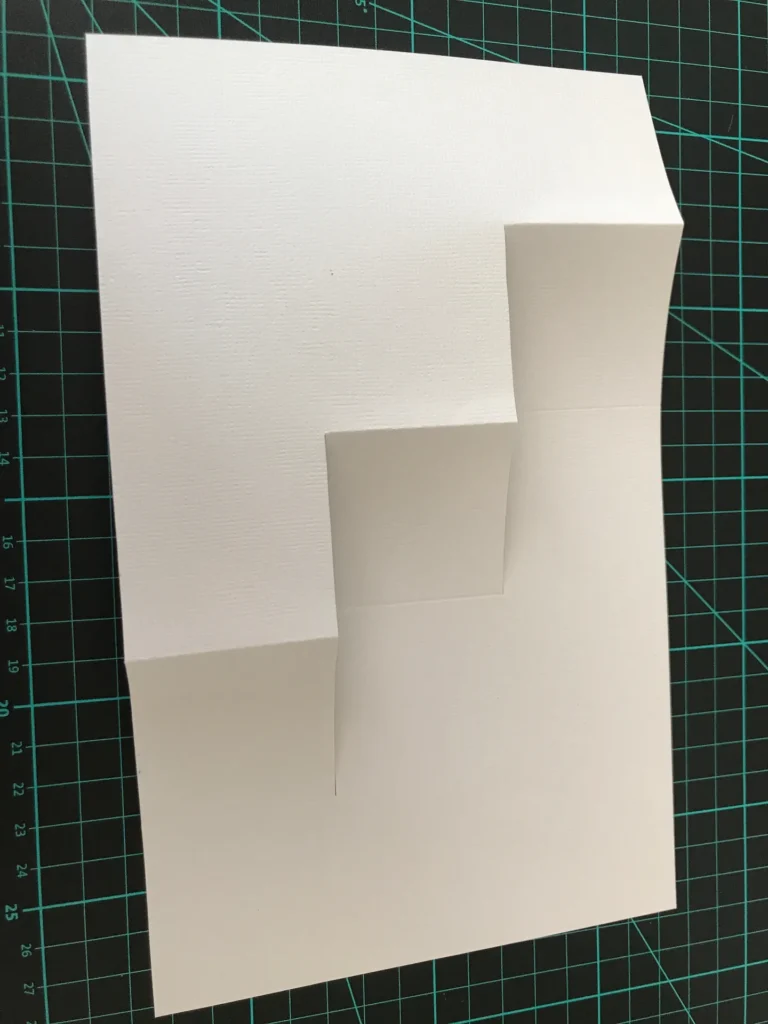
- Lets imagine your page is 3 rows of 5cm each
- Fold the first score of each row ‘mountain’ (upwards) and the second score of each row ‘valley’ (downwards)
- You’ll now see your card has taken shape!
- Close it and burnish your folds to make sure they sit nicely
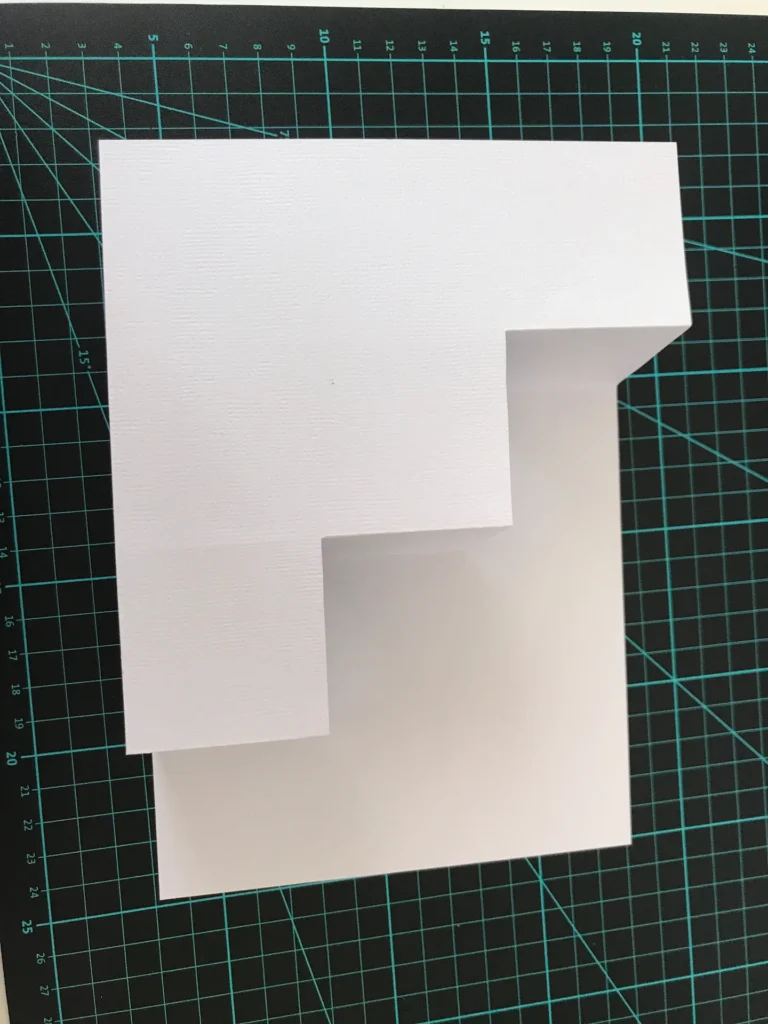
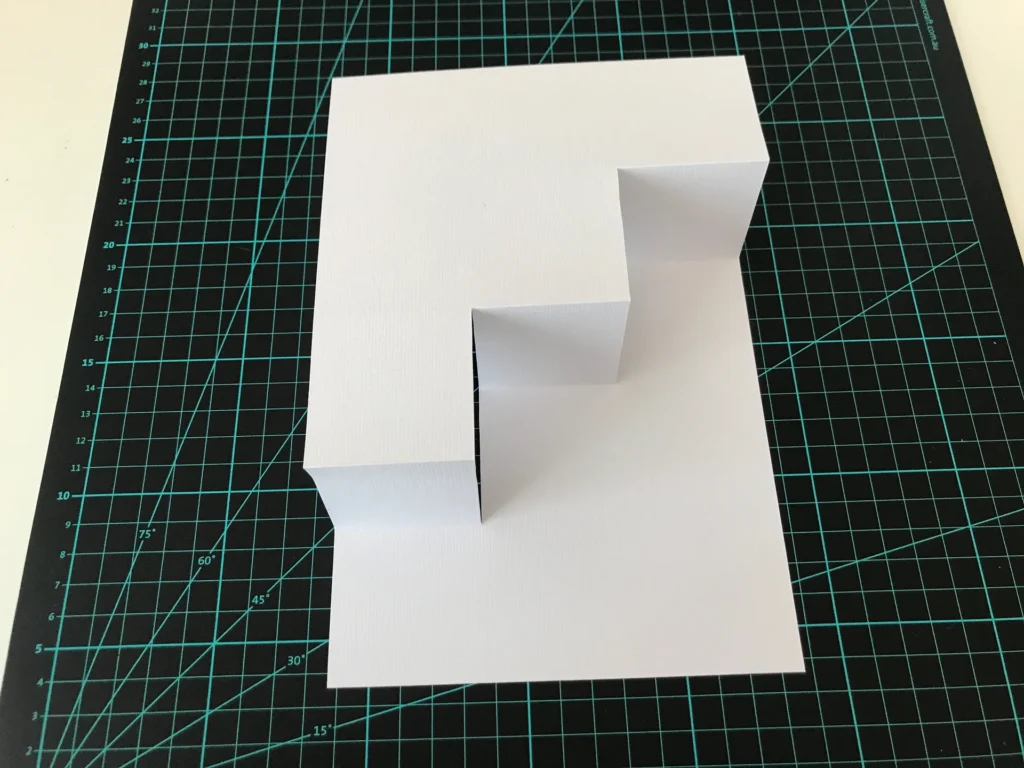
Well done!! You have created your stair card!!
All you need to do now is decorate!
There are many ways to decorate these cards, either covering the whole front side with 2 pieces + 3 x 4.5cm pieces for the step fronts, or, cutting 4.5cm squares of decorative papers (you’ll need 15 pieces to do the front including the stair fronts)
If covering the whole front with 2 pieces, simply use your card as a template to cut it to size – Lay your card flat – trace around the outside, then run your pencil through the cut lines – you’ll then just need to join it up when cutting – cut slightly inside all of the lines so you have a nice cardstock border around the edges!
I then layered lots of collectibles starting from the bottom left corner to give a nice full effect on the front. I also backed my sentiments on the same coloured cardstock as my base to keep the theme going. I added the letters ‘M’ ‘U’ ‘M’ down the stair fronts.
There is plenty of room on the back of the card for you to write your message.
So there you go! A cute stair card in no time at all! Told you you could do it you clever thing you!!
