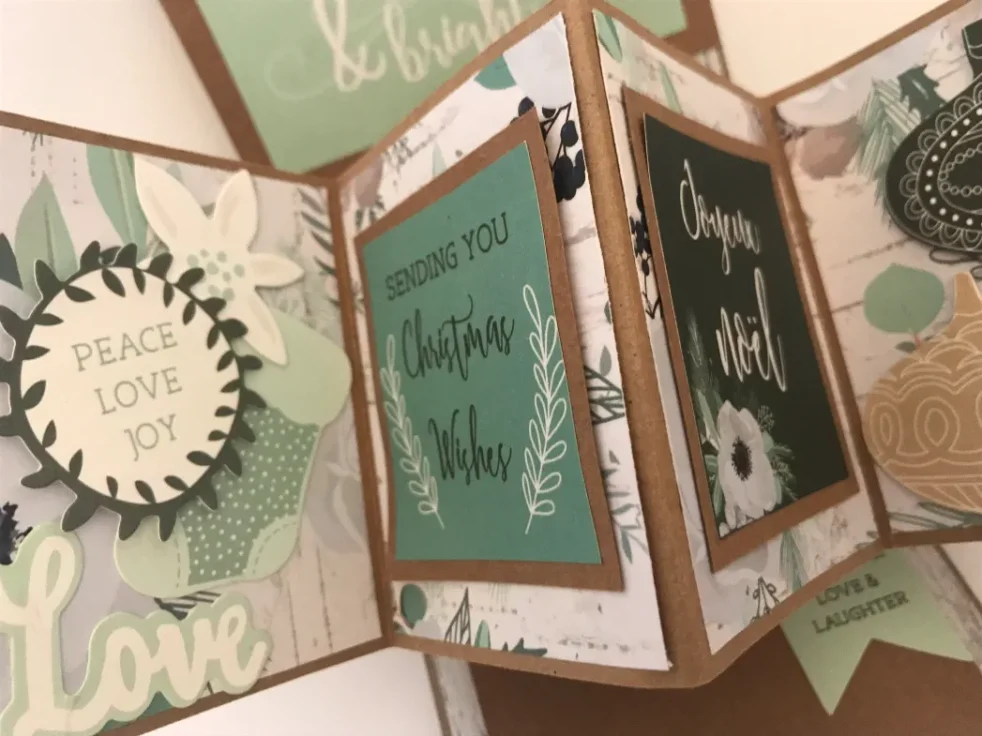
An oldie but a goodie, the twist and pop card is always a hit for any occasion.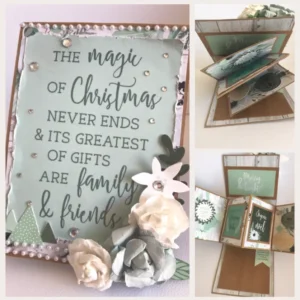
It is super effective and not too difficult to whip one up!
I have made mine in a Christmas theme, but these gorgeous cards also work for birthdays, weddings, anything really! (Check the bottom of this post for my birthday version I made for my mum last year)
This Christmas card has been made from A4 Kraft Card, as well as gorgeous papers and collectables from the Kaisercraft ‘Mint Wishes’ collection.
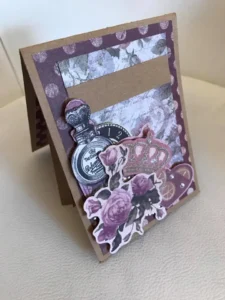
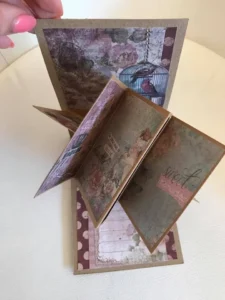
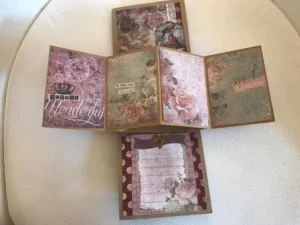
(The birthday card shown in the burgundy/ purple-y colours was made using beautiful papers and collectables from the Ruby Rock-It ‘Faded Empire’ collection which I picked up from Lincraft)
For this project you will need:
- 2 x Sheets of A4 card (or 30x30cm card will also work)
- Scoring board
- Strong Glue
- Scissors
- Decorative papers for the outer and inner of the card
- Embellishments such as ephemera, flowers, jewels etc
Ready?.. Let’s go!..
Step 1:
- Cut 1 piece of your paper to 28 x 20cm
Step 2:
Cut your second piece of paper into two pieces:
- 28 x 8.5cm
- 29 x 10.5cm
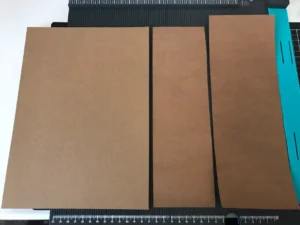
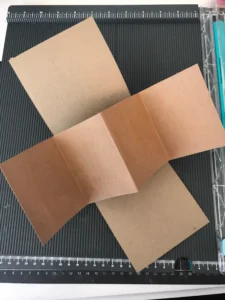
You should now have 3 pieces as shown below – 1 will be your outer card, 1 will be the ‘centre-pop-piece’ and 1 will be the mechanism that makes it pop
Step 3:
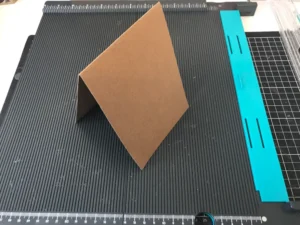
- Take your 29x 10.5cm piece and score it at 14.5cm (half)
- Fold along the score line (upwards)
- This piece is now your outer card
Step 4:
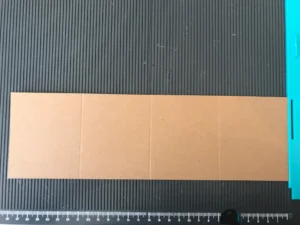
- Take your 28 x 8.5cm piece and score it at 7, 14 and 21cm (creating 4 quarters)
- Fold the two outer scores (7 and 21cm) downwards and the centre (14cm score) upwards
Step 5:
- Take your largest piece, the 28x 20cm and get ready to create the folding mechanism!
- Score on the 28cm side at: 10, 14 and 18cm
- Score on the 20cm side at 5, 10 and 15cm
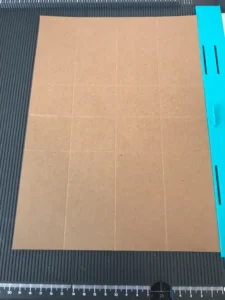
Step 6:
- Using scissors, Cut away the outer 4 corners (as shown marked with a black ‘X’ below) creating a cross shape
- (Tip: Slightly angle the edges of the sides of the cross shape to ensure smooth movement later on)
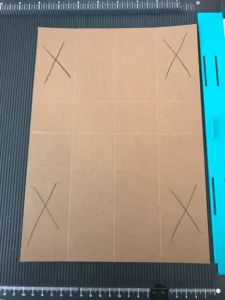
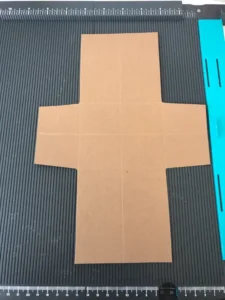
Step 7:
- Now to create the folding structure:
- Take the left side of the ‘cross’ and fold it evenly (across the centre of the cross), burnish this fold, then unfold
- Take the right side of the ‘cross’ and repeat the above
- You should now have an ‘X’ fold through the centre of the cross
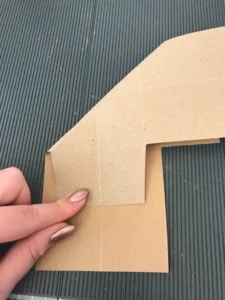
Step 8:
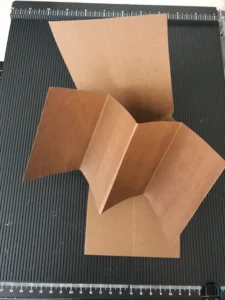
- Take each side of the ‘cross’ and gently close the two sides until you have what looks like a little house on the outside
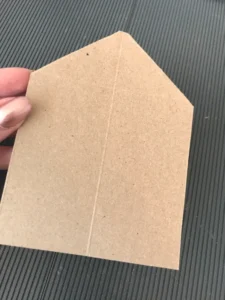
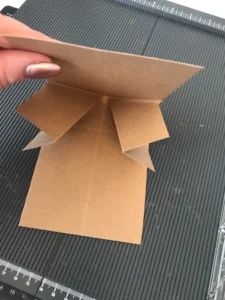
Step 9:
- Unfold the ‘house’ fold of the mechanism so it is back to flat
- Line up and centre the mechanism piece underneath the centre piece which you earlier scored into quarters
- Fold the outer two ‘flaps’ of the centre piece exposing the edges of the mechanism piece underneath
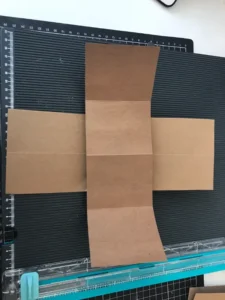
Step 10:
- Apply glue to the lower left corner and upper right corner of the exposed mechanism piece
- Fold the centre piece flaps back out to glue them in place with the mechanism
- You should now be able to open and close your folding mechanism
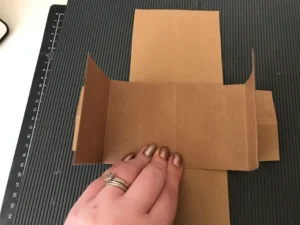
Step 11:
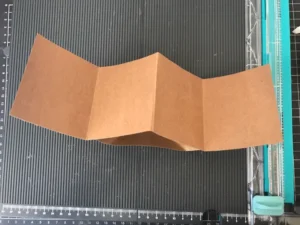
- This is now your choice: you can either glue the entire piece of the mechanism into the outer card as is, or, you can trim away the top and bottom rectangles down to be in line with the sides which are attached to the centre piece (In my example I have trimmed away the top and bottom)
- Glue the external side of the scored ‘triangle’ pieces in the centre of the mechanism piece (if keeping the top and bottom pieces attached glue the whole top and bottom piece, including the scored triangle piece)
- Line up the centre of the two triangles with the centre fold of your outer card and close the card over the glue, sticking it to both sides of the card outer
Step 12:
Burnish over the top of your card to ensure all folds are in place and to help the glue adhere.
Open your card and it should now ‘twist and pop!’
Well Done – Look At You Go!
Step 13:
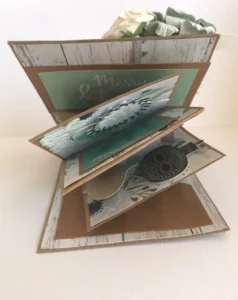
- You can now decorate your card however you would like inside and out!
- I suggest using striking wording, letters or images on your centre 4 pieces to make it really stand out!

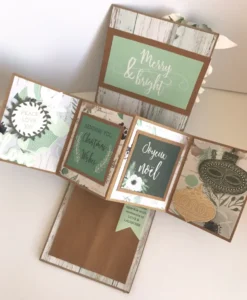

Here’s another one..

I’ve made these before..your instructions are so clear. Thank you