Hello again!
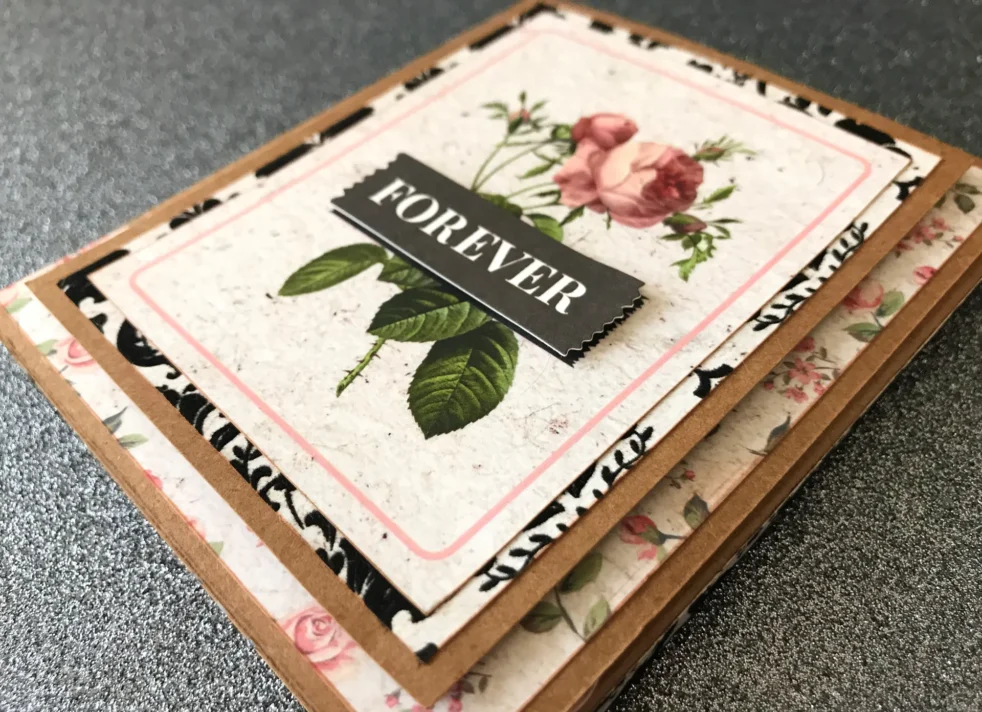
Today I am going to show you how to make this super duper simple shadow frame card!


Cute isn’t it!..
Now just imagine the receivers photo, a gift card or a small memento mounted inside!
What a treasured gift it will be!
This card was made using the Kaisercraft ‘Everlasting‘ collection, Kraft cardstock and a few little string blings from my stash.
The Everlasting papers I have used are ‘Blushing’ and ‘Damask’ (which is a specialty flocked page)


For this project you will need:
- 1 piece of 30x30cm card stock
- Cutter or scissors
- Scoring board or ruler/ mat
- Glue & adhesive foam dots
- Decorative papers and embellishments
Lets get started!
Step 1:
- Cut 1 piece of card stock to 13cm x 23cm (this will be your card)

Step 2:
- With your piece in a landscape direction score vertically at 11cm & 12cm (to create your card spine)
- Fold and burnish the score lines – both are mountain (upwards) folds


Step 3:
- Cut another piece of card stock to 13cm x 15cm (this will be your frame)

Step 4:
- With your piece in landscape direction, score vertically at 1cm, 2cm, 13cm & 14cm (this will create your raised edges)
- Fold and burnish the score lines – both are mountain (upwards) folds

Step 5:
- Measure 2cm from each edge of your card and draw a rectangle
- Cut out the centre of the rectangle to create the ‘frame’


Step 6:
- Decorate the front/outer of your card
- You can also begin decorating the background of your inner card now too


Step 7:
- Apply glue to the top outer 1cm sections of your frame piece
- Fold the edge piece under and adhere it along the outer edge of the inside of your card
- Fold the other sides edge piece under and adhere it along the fold line of the spine of your card


Step 8:
- Decorate the inside of your card
- Voila! You clever thing you, you’re done! (Told you it was simple!)
Here’s a closer look..


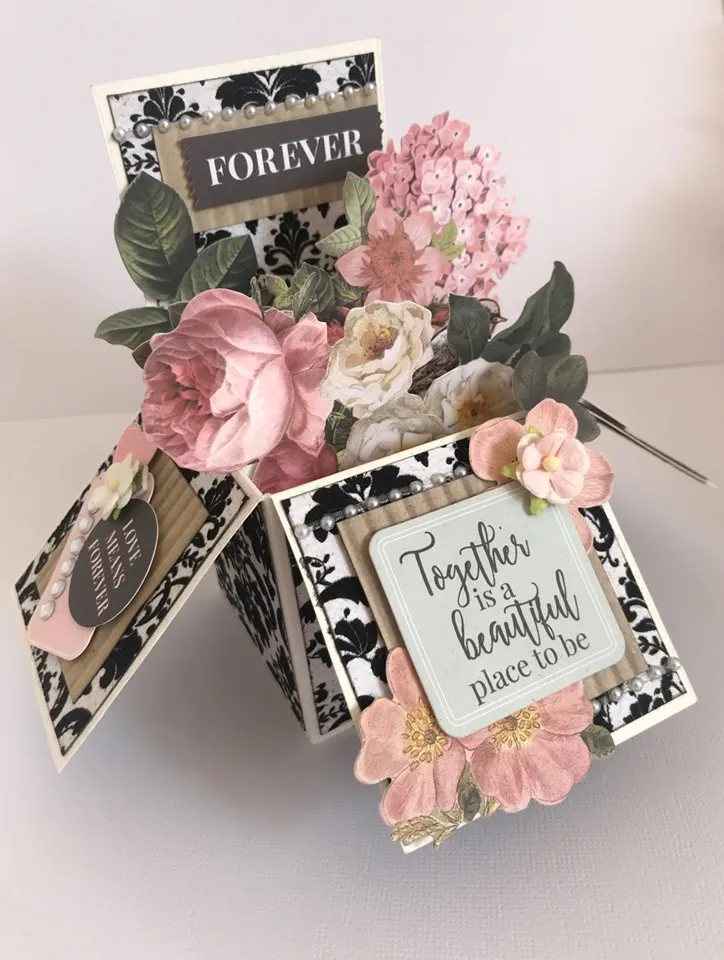
I recently used the same Everlasting paper and collectibles to make this gorgeous pop-up box card..
Isn’t this collection just so lovely?!
Well, that’s all from me today.. Good luck, hug your cat and happy crafting!!
XOXO